With Java, there are clearly two camps: the opponents and those who use it. During my studies I once heard the saying: “I don’t like Java. My computer crashes so slowly”. The fact is that Java is resource-hungry and slow, at least at start-up. This is due to the basic principle of Java. Java only generates an intermediate code when creating a program. The actual compilation takes place only during execution, the so-called Just-In-Time Compiling. In return, I get largely platform-independent code, and once the code is executed, it is optimized for the system. Current Java compilers even optimize continuously in the background.
Java in industrial use?
Deterministic is not a given in Java, which is mainly due to the garbage collector. Although there were efforts to do this in the past, they seem to have fallen asleep. If the requirements for real-time capability are not excessively high, however, this is not a problem. Many things can be solved much more elegantly than in C(++).
I am a big Java fan. Java is like C++, except that it makes my life more comfortable in many places. Dealing with strings or anonymous classes, to name two examples.
Setting up Netbeans for Java on the RevPi
My first attempts came to nothing because my installation of Netbeans couldn’t find anything. After a bit of research on the internet, I came to the conclusion that it might have something to do with the dirty hack to get Netbeans 11 to work. Fortunately, there is now Netbeans 12 and it works without workarounds.
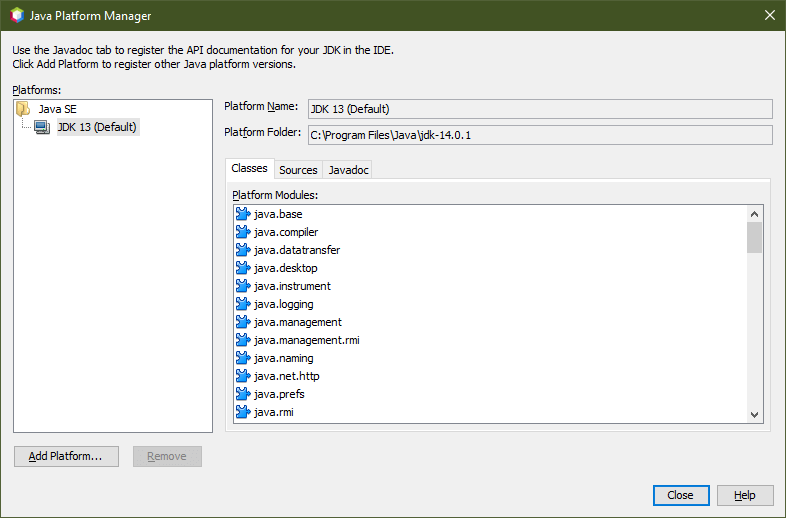
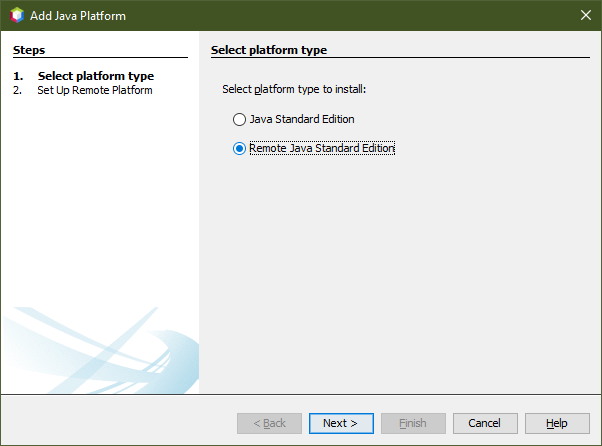
Now the RevPi must be set up as a platform in Netbeans. You can do this via the main menu Tools → Java Platforms. You can now set up a new platform via the Add Platform button.

The RevPi is logically a remote platform, so we choose Remote Java Standard Edition.

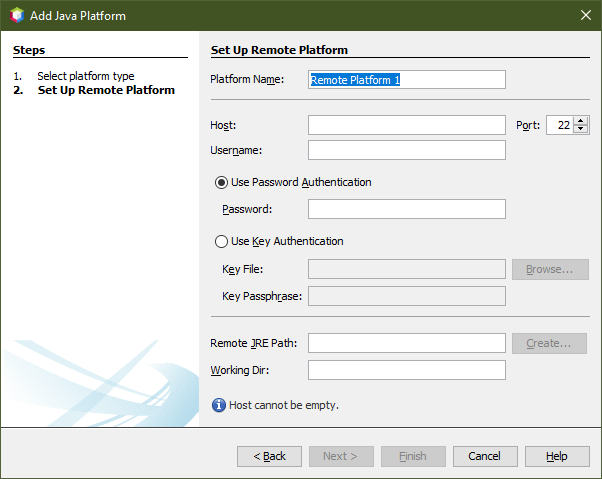
On the following page of the dialogue window, the name and data of the platform are specified. In our case, for example, “pi” and the IP address of the RevPi, as well as the user name and password. The Remote JRE Path you have to enter:
/usr/lib/jvm/jdk-8-oracle-arm32-vfp-hflt/jre

When the setup of the new platform is complete, it looks like this in the Platform Manager:

A first Java project
After creating a new project, I wanted to reconfigure the project to run on RevPi. Via Project Properties → Run → Runtime Platform, you should now be able to set the RevPi as the platform. However, the list with the platforms remained empty.

At this point, I searched for the error for a long time. I looked at many tutorials on the internet, but none of them described that Netbeans only offers the platforms that support the set format in the Runtime Platform. With my Raspian version (Jessy), it only goes up to JDK8. Therefore, we first have to set Sources → Source/Binary Format → to JDK8. Now the runtime platform can also be set.
Now create a new configuration via Run → Configuration → New. Since I have several RevPis running, I called the configuration pi@<IP address> for better differentiation.
Then quickly write a line that outputs “Hello”.
package revpijavatest;

public class RevPiJavaTest {
    public static void main(String[] args) {
        System.out.println("Hello");
    }
}
Unusual from C programming is that the output of the program appears in the same window as the compiler messages. That’s why I didn’t see my “Hello” at the beginning and suspected an error.
Now you can actually get started with Java development on the RevPi. What is missing, however, is access to the RevPi specifics, i.e. the GPIOs. To do this, we need to access system functions, which can be done with the so-called “Java Native Interface”, or JNI for short.
