How to Run Docker on RevPi Devices

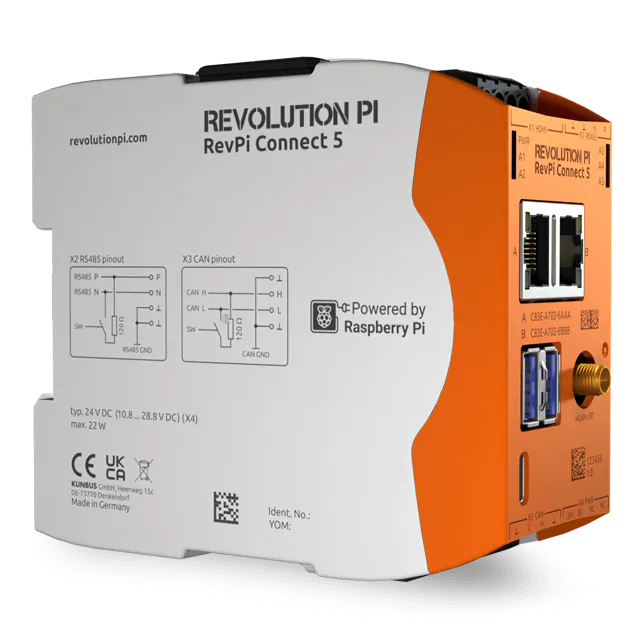
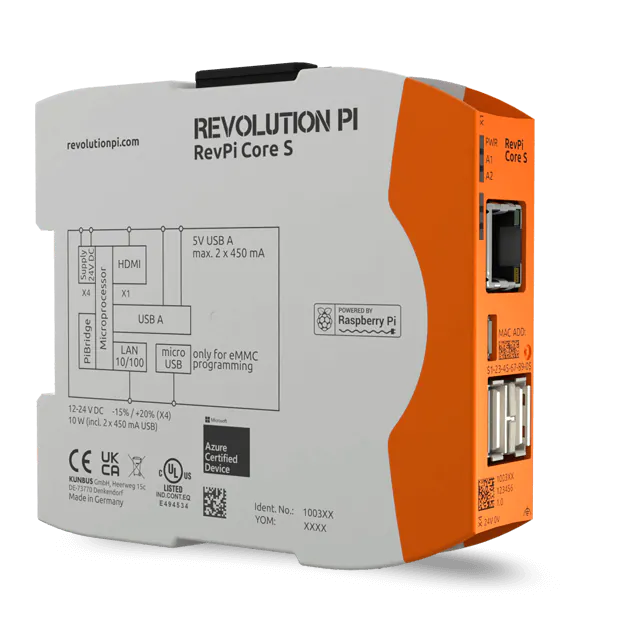
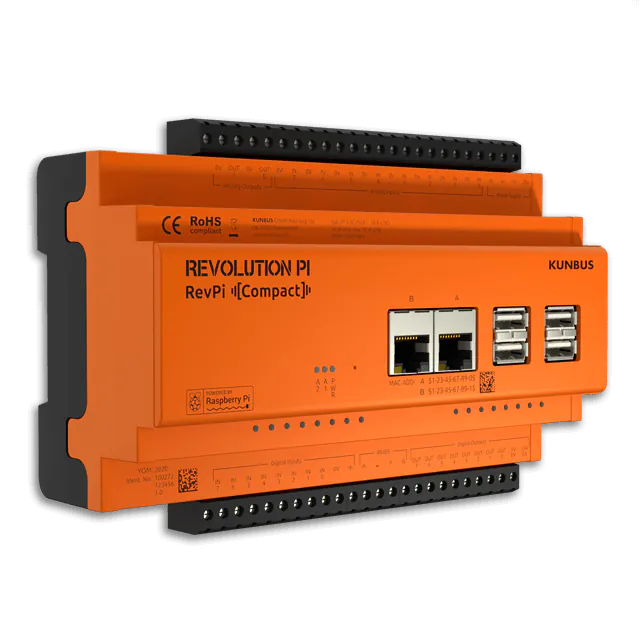
You can basically use Docker on all RevPi devices. In this tutorial, we show you how to access I/O modules on the RevPi Core and RevPi Connect within a Docker container using tools such as piTest. With Python or C you can easily read and write directly in the process image.

Using Python and the user “pi” you proceed as follows:

Installing Docker

As described in “Install Docker Engine on Debian“, you can install Docker from the apt repository, with local packages or with a Docker-supplied script.

Installing from the Apt Repository

  • Update the apt package index.
    sudo apt-get update
  • Install the tools you need.
    sudo apt-get install apt-transport-https ca-certificates curl gnupg lsb-release
  • Add Docker”s official GPG key.
    curl -fsSL https://download.docker.com/linux/debian/gpg | sudo gpg --dearmor -o /usr/share/keyrings/docker-archive-keyring.gpg
  • Add the official apt repository of Docker.
    echo "deb [arch=armhf signed-by=/usr/share/keyrings/docker-archive-keyring.gpg] https://download.docker.com/linux/debian $(lsb_release -cs) stable" | sudo tee /etc/apt/sources.list.d/docker.list > /dev/null
  • Update the apt package index again.
    sudo apt-get update
  • Install Docker.
    sudo apt-get install docker-ce docker-ce-cli containerd.io

Installing with Convenience Script

  • Get the “convenience script” for Docker installation.
    curl -fsSL https://get.docker.com -o get-docker.sh
  • Run the script.
    sudo sh get-docker.sh

This can now take a few minutes – a good time, for example, to open the windows and give your head some fresh oxygen.

  • Then check the Docker engine with “hello world”.
    sudo docker run hello-world
  • To use Docker as a non-root user, add the user pi to the Docker group.
    sudo usermod -aG docker pi
  • Log out of the console and log in again to enable the user setting:
    exit

Accessing the I/O Modules


#/bin/bash
#$1: file
#$2: offset
#$3: length
#$4: value
function writeByte() {
printf “$(printf ‘\\x%02X’ $4)” | dd of=”$1″ bs=1 seek=$2 count=$3 conv=notrunc &> /dev/null
}
#$1: file
#$2: offset
#$3: length
function readByte() {
od -t x1 -j “$2” -N “$3” -Ad “$1”
}
echo “write 0 to address $1 in host $(hostname)…”
writeByte /dev/piControl0 $1 1 0
echo “read address $1 in host $(hostname):”
readByte /dev/piControl0 $1 1
echo
sleep 1
echo
echo “write 1 to address $1 in host $(hostname)…”
writeByte /dev/piControl0 $1 1 1
echo “read address $1 in host $(hostname):”
readByte “/dev/piControl0” $1 1
  • Run a Docker image (e.g. Debian) with “–dev=/dev/piControl0” to establish access to the device nodes in the container.
    docker run -i -t --device=/dev/piControl0 -v /home/pi/io.sh:/io.sh debian bash /io.sh 70

When running this command, the LED should flash once and the output will look like this:
write 0 to address 70 in host 43b83b9dd777... (host name of the container)
read address 70 in host 43b83b9dd777:
0000070 00
(value of variable)
0000071
write 1 to address 70 in host 43b83b9dd777...
read address 70 in host 43b83b9dd777:
0000070 01
(value of variable)
0000071

The parameter for io.sh is the offset (address) of the process image, which is variable according to the configuration of the IO modules with the reference “Full Control by using PiControl”. Here the offset 70 is used to control the LED configured as above.

The shell script shown here is simplified to show the basic idea. We recommend to use Python and C in real-world applications because of their more powerful programmatic capabilities.

Further information can be found under:

Full Control by using PiControl

Access the process image with Python:
Video: https://youtu.be/cz163tcQCsM
Code: https: //revolution.kunbus.de/download/1608/