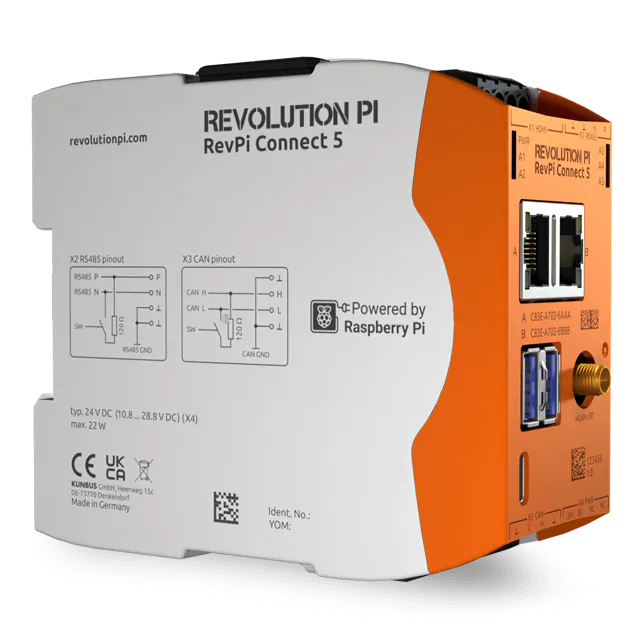
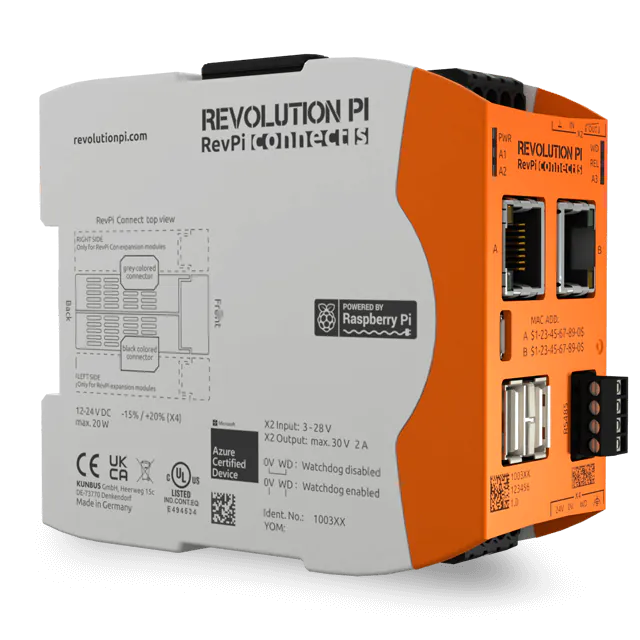
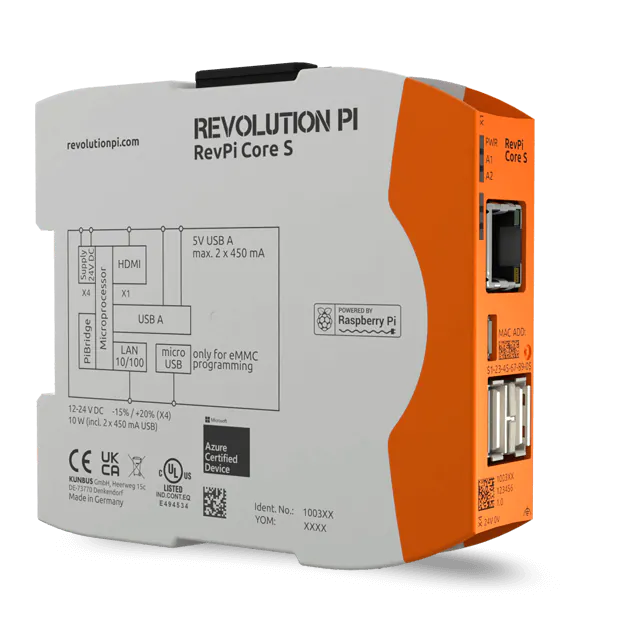
In this tutorial we show you how to read out data from a heat cost allocator with our RevPi M-Bus.
You can follow this example right now. For this you need:
- RevPi Connect
- RevPi M-Bus
- Antenna for the RevPi M-Bus
- M-Bus Slave *
*We use a heat cost allocator in this example. If you use a different slave, you have to adjust the corresponding steps according to the instructions in the manual of the device manufacturer.
Preparation
- Download our software package for this tutorial.
- Install a FTP client on your PC (e.g. FileZilla).
- Make sure that your RevPi Connect is in your network.
- Determine the IP address of your RevPi Connect.
- Note down the login data of your RevPi Connect if necessary. (The RevPi M-Bus covers the sticker with the password once it is installed)
Setup
- Connect the RevPi Connect and the RevPi M-Bus using the conBridge.
- Connect the antenna to the antenna connector of the RevPi M-Bus.
- Connect your RevPi Connect to your network.
- Install your M-Bus slave according to the instructions of the device manufacturer.
Let’s go:
- Unpack the software package.
Copying Data to the RevPi Connect
- Open the FTP client.
- Enter the following parameters to connect to your RevPi Connect
Host |
IP address of your RevPi Connect |
Username |
Username of your RevPi Connect. If you have not changed it, the username is “pi”. |
Password |
Password of your RevPi Connect. You can find it on the sticker on the side of your RevPi Connect. |
Port |
22 (default value for SFTP) |
- Click on “Quickconnect”.
- In the status window you can see whether your connections can be established or whether there is an error.
- You now have access to the local data that is on your PC and to the data on your RevPi Connect.
- Select the unzipped folder wMBus on your PC.
- Drag and drop the folder into the “pi” folder on your RevPi Connect.
Configuring Devices
- Start PiCtory.
- Drag and drop your RevPi Connect on to the configuration board.
- Drag and drop your RevPi M-Bus onto the configuration board and place it to the right of the RevPi Connect.
- Click on File > Safe as Start Config.
- Click on Tools > Reset Driver.
Installing a Library
- Access the shell. For this, you can use the device headless or connect monitor, mouse and keyboard directly.
- Log on.
- Install the library librxtx-java :
|
Configuring a Script
The script is already preconfigured for this example. To adapt it for your slave you can use the command line utility “wMBus.py”. This is a Python script that passes the configuration values as arguments.
The notation must always have the following form:
pi@mycon $ ./wMBus.py <configuration command> <address>
The following example reads the transmission mode (MBUS_MODE s. tables below) of the wM-Bus module.
If several configuration parameters are to be read from the memory, this can be done with the following command line:
pi@mycon $ for i in 03 05 12 19 1A 1B 1C 1D 1E 1F 10 30; do python ./wMBus.py 59 $i; done
Configuration Commands
Excerpt of configuration commands
Parameter |
Command |
Formula |
Comment |
Memory configuration |
4dh |
|
|
Strength of signal |
53h |
P=-RSSI (dec) / 2 (dBm) |
Return value one byte |
Module temperature |
55h |
T=TEMP (dec) -128 (°C) |
Return value one byte |
Module voltage |
56h |
V=VCC (dec) * 0.03 (V) |
Return value one byte |
Memory query |
59h |
|
|
Configuration Parameters wM-Bus Module
Extract MBUS3 configuration memory
Parameter |
Description |
Address |
Argument |
MBUS_MODE |
Transmission mode |
03h |
S2-Mode: 00h T1-Mode: 01h T2-Mode: 02h S1-Mode: 03h |
RSSI_MODE |
|
05h |
Inactive: 00h Active: 01h |
NETWORK_ROLE |
|
12h |
Slave: 00h Master: 01h Repeater: 02h |
M_ID1 |
Manufacturer ID, 1. Byte |
19h |
00h-FFh |
M_ID2 |
Manufacturer ID, 2. Byte |
1ah |
00h-FFh |
U_ID1 |
Module ID, 1. Byte |
1bh |
00h-FFh |
U_ID2 |
Module ID, 2. Byte |
1ch |
00h-FFh |
U_ID3 |
Module ID, 3. Byte |
1dh |
00h-FFh |
U_ID4 |
Module ID, 4. Byte |
1eh |
00h-FFh |
VER |
Version |
1fh |
00h-FFh |
DEV |
Type |
20h |
00h-FFh |
UART_BAUD_RATE |
Data rate |
30h |
2400: 01h |
TERMINATION |
|
ffh |
|
Tip! If you type the command “jmbus-app.sh” in the command line, all arguments currently available will be listed.
Executing a Script
The following command makes the supplied script executable:
wMBus/jmbus-3.3.0/jmbus-3.3.0/jmbus/run-scripts $ chmod 755 jmbus-app.sh |
NOTE: You need the key of your M-Bus slave to receive unencrypted data. You have to add the key to the command:
/wMBus/jmbus-3.3.0/jmbus-3.3.0/jmbus/run-scripts $ ./jmbus-app.sh wmbus -cp “/dev/ttyConBridge” -bd 19200 -t 2 -v -tr rc -wm T -key
|
Your return values should look like this:
2020-11-04 08:48:26.354 ——- New Message ——- Message Bytes: 7644C5252501107055087225011070C525550818006005F15022710A0D6044417FB62B1FCD93F3FD3C649B5705378306DC765FA3D3D22AA9AB4018212A00C026FA2AFDF11B8EF14496B814DE2D4DF7A4BC0B61B22FCDAD12E090DB23927C2B260208C139CE2878BDE654B9E65EBC6A9F2E72AACC45399727 Message was received with signal strength: -19dBm Control Field: 0x44 Secondary Address -> manufacturer ID: INE, device ID: 70100125, device version: 85, device type: HEAT_COST_ALLOCATOR, as bytes: C525250110705508 Variable Data Response: Secondary address: {manufacturer ID: INE, device ID: 70100125, device version: 85, device type: HEAT_COST_ALLOCATOR, as bytes: 25011070C5255508} Short Header: {Access No.: 24, status: 0, encryption mode: AES_CBC_IV, number of encrypted blocks: 6} DIB:0B, VIB:6E -> descr:HCA, function:INST_VAL, value:000000, unit:RESERVED DIB:42, VIB:6E -> descr:HCA, function:INST_VAL, storage:1, value:0, unit:RESERVED DIB:8201, VIB:6E -> descr:HCA, function:INST_VAL, storage:2, value:0, unit:RESERVED DIB:C201, VIB:6E -> descr:HCA, function:INST_VAL, storage:3, value:0, unit:RESERVED DIB:8202, VIB:6E -> descr:HCA, function:INST_VAL, storage:4, value:0, unit:RESERVED DIB:C202, VIB:6E -> descr:HCA, function:INST_VAL, storage:5, value:0, unit:RESERVED DIB:8203, VIB:6E -> descr:HCA, function:INST_VAL, storage:6, value:0, unit:RESERVED DIB:C203, VIB:6E -> descr:HCA, function:INST_VAL, storage:7, value:0, unit:RESERVED DIB:8204, VIB:6E -> descr:HCA, function:INST_VAL, storage:8, value:0, unit:RESERVED DIB:C204, VIB:6E -> descr:HCA, function:INST_VAL, storage:9, value:0, unit:RESERVED DIB:8205, VIB:6E -> descr:HCA, function:INST_VAL, storage:10, value:0, unit:RESERVED DIB:C205, VIB:6E -> descr:HCA, function:INST_VAL, storage:11, value:0, unit:RESERVED DIB:8206, VIB:6E -> descr:HCA, function:INST_VAL, storage:12, value:0, unit:RESERVED DIB:C206, VIB:6E -> descr:HCA, function:INST_VAL, storage:13, value:0, unit:RESERVED DIB:8207, VIB:6E -> descr:HCA, function:INST_VAL, storage:14, value:0, unit:RESERVED DIB:C207, VIB:6E -> descr:HCA, function:INST_VAL, storage:15, value:0, unit:RESERVED DIB:8208, VIB:6E -> descr:HCA, function:INST_VAL, storage:16, value:0, unit:RESERVED DIB:C208, VIB:6E -> descr:HCA, function:INST_VAL, storage:17, value:0, unit:RESERVED DIB:02, VIB:FD17 -> descr:ERROR_FLAGS, function:INST_VAL, value:0
|
If you use the wrong key or no key, you receive encrypted data:
2020-11-04 8:38:02 AM.859 ——- New Message ——- Message Bytes: 7644C5252501107055087225011070C5255508130060051F5CF0FDE1356B6A82D8708F378DF17D0D3B67D017FA14B863583CC899AA6CB751D992CBFE263841DEE1ED3B8A8C43D0953BA7461DFC3392450B1693DD8CE611BF7624DDB4AA37C2D75FDEE339B5E203BD194D6299AD85D4DDB67C8FB46773F827 Unable to fully decode received message: Unable to decode encrypted payload because no key for the following secondary address was registered: manufacturer ID: INE, device ID: 70100125, device version: 85, device type: HEAT_COST_ALLOCATOR, as bytes: C525250110705508 Message was received with signal strength: -19dBm Control Field: 0x44 Secondary Address -> manufacturer ID: INE, device ID: 70100125, device version: 85, device type: HEAT_COST_ALLOCATOR, as bytes: C525250110705508 Variable Data Response: VariableDataResponse has not been decoded. Bytes: 7225011070C5255508130060051F5CF0FDE1356B6A82D8708F378DF17D0D3B67D017FA14B863583CC899AA6CB751D992CBFE263841DEE1ED3B8A8C43D0953BA7461DFC3392450B1693DD8CE611BF7624DDB4AA37C2D75FDEE339B5E203BD194D6299AD85D4DDB67C8FB46773F8
|
Tip! You can find more information in the “jMBus User Guide” (https://www.openmuc.org/m-bus/files/jmbus-doc.pdf).