When starting RevPi Core, HDMI monitors normally display the so-called EDID data. The data contain, amongst other things, the resolutions that the monitor supports as well as the preferred resolution that is then selected by the system.
When the monitor is not turned on or connected when starting, then the data is not available. The resolution will then possibly not be correct or, in the worst case, the monitor will remain black.
The same also goes for monitors that do not display any, or wrong, EDID data. In all such cases, resolution should be adjusted manually.
In this example, we will now solve the problem together.
To do it, you need:
- RevPi Core
- Monitor
- HDMI cable with micro-HDMI plug
- Keyboard
Let’s go!
- Connect the monitor and your RevPi Core using the HDMI cable.
- Connect the keyboard to your RevPi Core.
- Ascertain the current settings for the resolution:
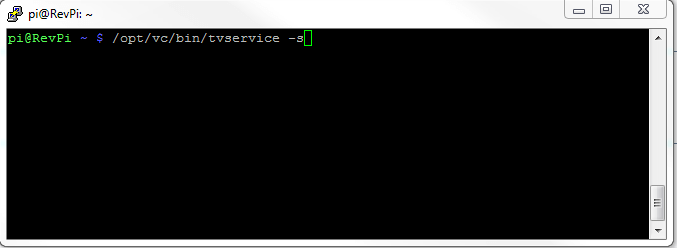
You can see the current settings:

There are two operating modes for monitors:
– Group 1: CEA (typical setting for TV monitors)
– Group 2 DMT (typical setting for PC monitors)
- Type in the following command if you are using a television: /opt/vc/bin/tvservice -m CEA or
- type in the following command if you are using a PC monitor: /opt/vc/bin/tvservice -m DMT
You will be shown every possible resolution:
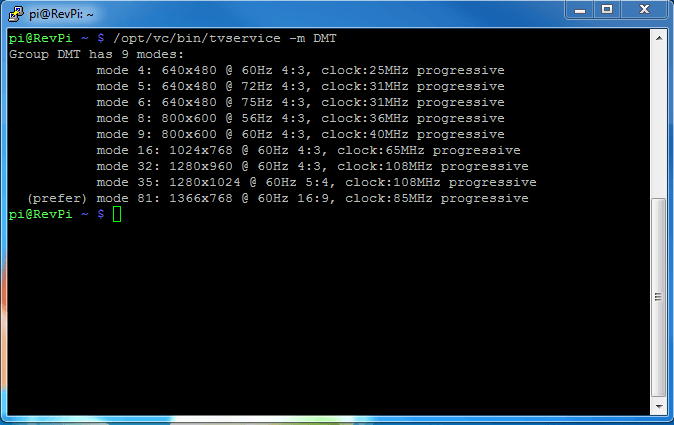
Note down the mode you would like to use.
The resolution for your monitor can be set in the config.txt configuration file.
- Start Texteditor to edit the text:

- Change following settings: – HDMI Mode – HDMI Group (1 for television, 2 for PC monitor)
- Remove the “#” in front of the line you have changed. “#” deactivates the functions.
Solution:
Start Texteditor to edit the file:
- Remove “#” in front of “disable_overscan=1”.
- Save the file.
- Restart your Dein RevPi Core: sudo shutdown – r 0
The monitor resolution will be changed after restarting.