TeamViewer RevPi Beta enables you to access web applications of your RevPi Connect over the internet.
Requirements:
- Correctly connected RevPi Connect.
- RevPi Connect with internet access.
Let’s go:
- Enter following command at the command line:
sudo apt-get update
Updates the package lists for upgrades for packages that need upgrading, as well as new packages that have just come to the repositories.
- Enter following command:
sudo apt-get install revpi-repo
This command updates the “revpi-repo” package. It contains, among other things, the TeamViewer APT repository.
- Enter following command:
sudo apt-get install teamviewer-revpi
TeamViewer-RevPi will now be installed.
To use TeamViewer-RevPi, you have to enable it first.
- Open your web browser and enter the IP address of your RevPi Connect in the address bar of your browser.
- After login, click on “Services”.
- Click on “enable” at the TeamViewer-RevPi line.
RevPi Connect is building up a connection to a TeamViewer server.
To remote access RevPi Connect over the internet, you need to install a TeamViewer Client onto your desktop PC or Laptop.
- Enter following command at RevPi Connect’s command line:
man teamviewer-revpi
This command will show you a manual how to set up the client.
- Enter following command:
teamviewer-info
This command will show you the login credentials for the remote access.
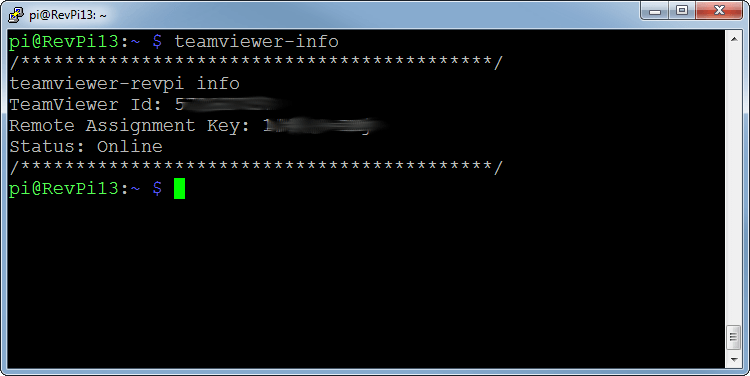
- Write down the login credentials.
- Install TeamViewer-Client on your desktop PC or Laptop.
Licence fee Teamviewer-RevPi Beta
The Teamviewer-RevPi version is currently in beta status. This version is therefore still free of charge. If you install the TeamViewer Client and only use it for tests with the Teamviewer RevPi, you may also specify “non-commercial private use”. However, if you use it for other commercial purposes, you will have to pay the license fee for these types of use.
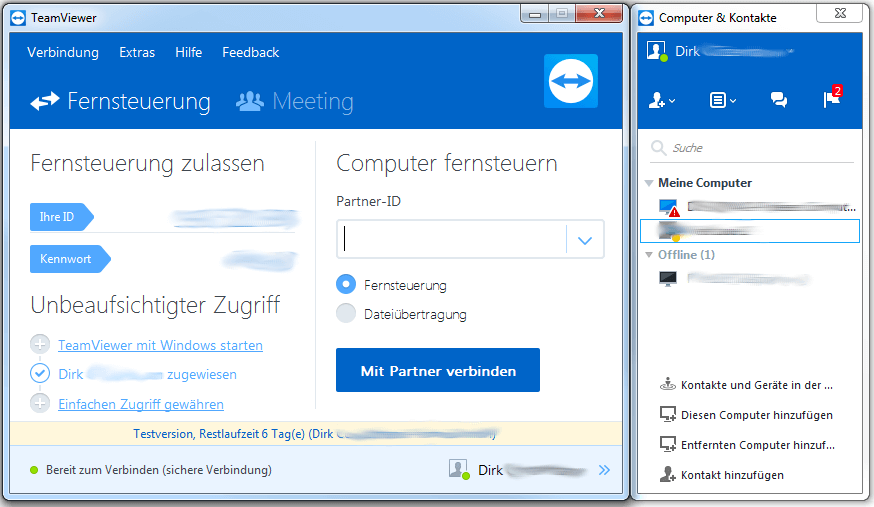
- Log in with your Teamviewer credentials. If you don’t have login credentials, register for free because without access data the connection will be denied (Beta)
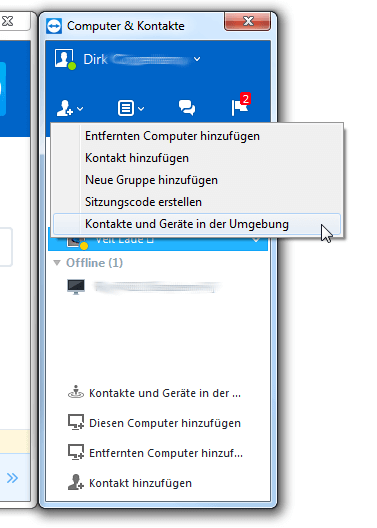
- If your RevPi Connect and your PC are on the same network, you can easily find it (if not see below *). Click on the icon on the left and in the menu on “Contacts and Devices in the Surroundings”.
- Select your RevPi Connect from the list of found devices.
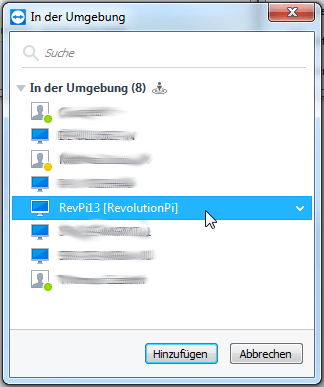
- Double click on your RevPi Connect from the list and the connection will be established.

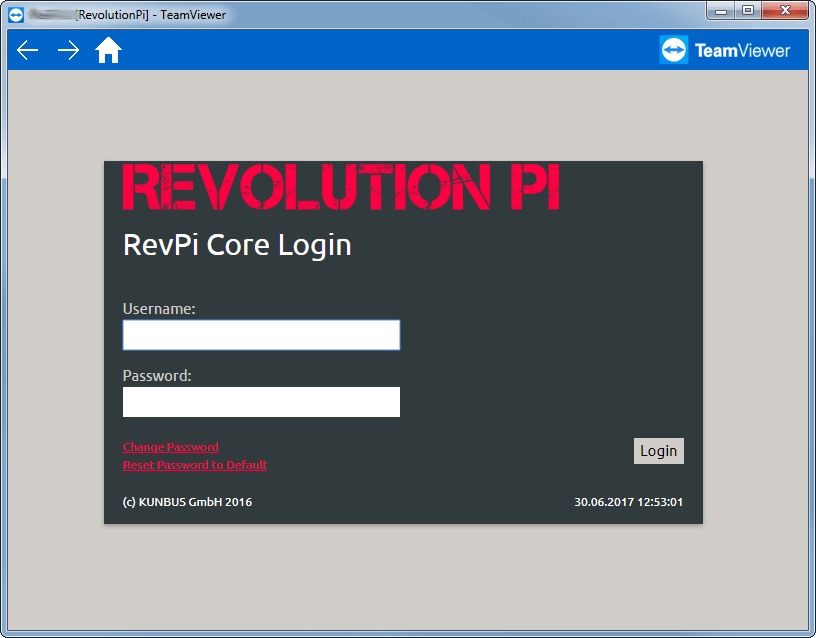
You can now access the web applications of your RevPi Connect via TeamViewer.
Disable Teamviewer if your RevPi Connect is not connected to the internet.
Otherwise RevPi Connect tries to reach the TeamViewer servers continously and writes
error messages in the logfile. This creates unnecessary CPU load and write access to the eMMC.
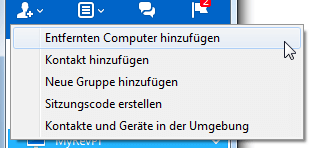
*) If your RevPi Connect isn’t in the same network as your PC, proceed as follows
- Click on the icon on the far left and then on “Add remote computer” in the menu.
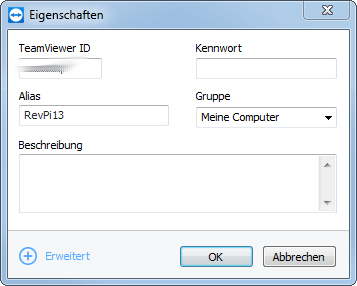
- Enter your TeamViewer ID and no password. If you enter a password, the connection will be refused later (Beta).
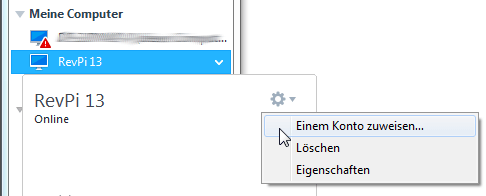
- Your RevPi Connect is now listed. Now it must be linked to your account. Click on the arrow to the right of your RevPi. Then onto the cogwheel icon and confirm with “Assign an account…”
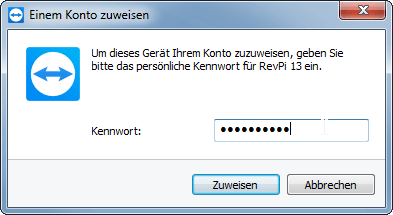
- The “Assign to an account” dialog appears. Enter the password that was displayed in the “teamviewer-info” dialog under “Remote Assignment Key”.
- Check the output of “teamviewer-info” again and see if “Device is assigned to:” shows your name.

- Double-click on your RevPi to start the connection
- The connection is beeing established