Creating a Project

Creating a New Project

  • Open the CODESYS Development System.
  • Click on File > New Project….
  • Select Standard project.
  • Click on OK.

  • Select CODESYS Control for Linux ARM SL (CODESYS) as the device.
  • Click on OK.

A standard project is created in the project tree.

  • Right-click on Device in the project tree.
  • Click on Add Device.

  • Extend the Miscellaneous tree.
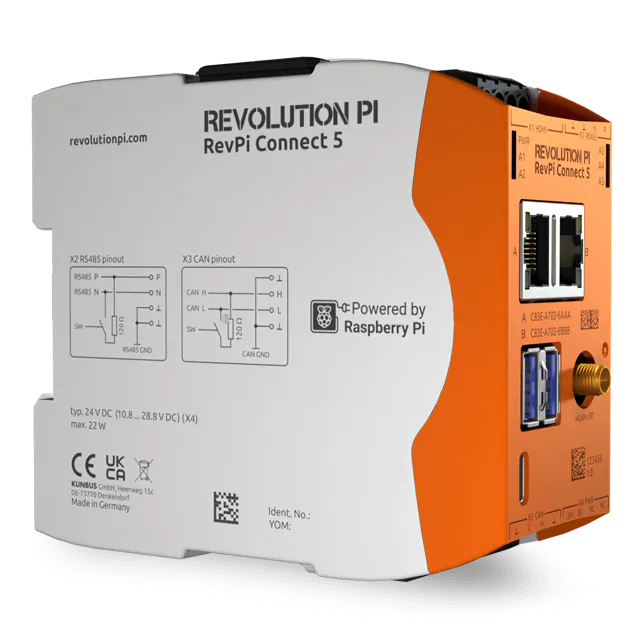
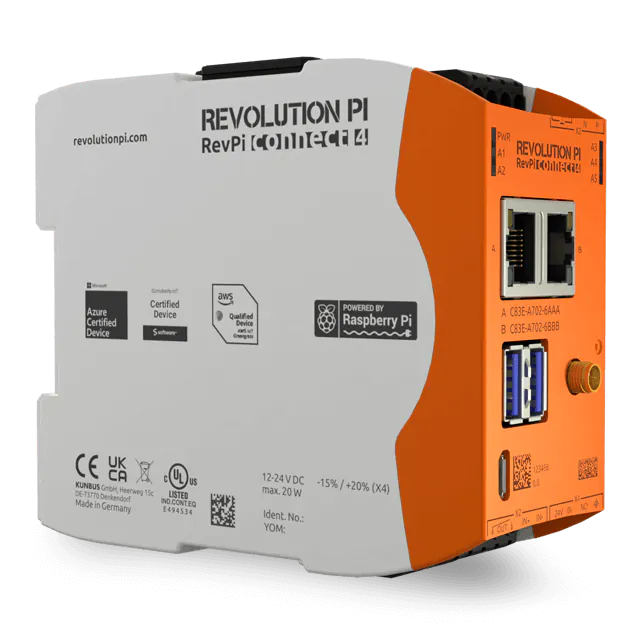
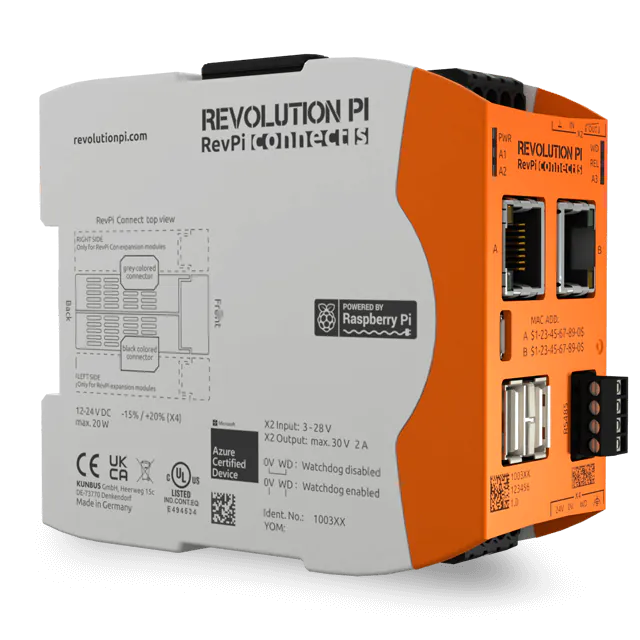
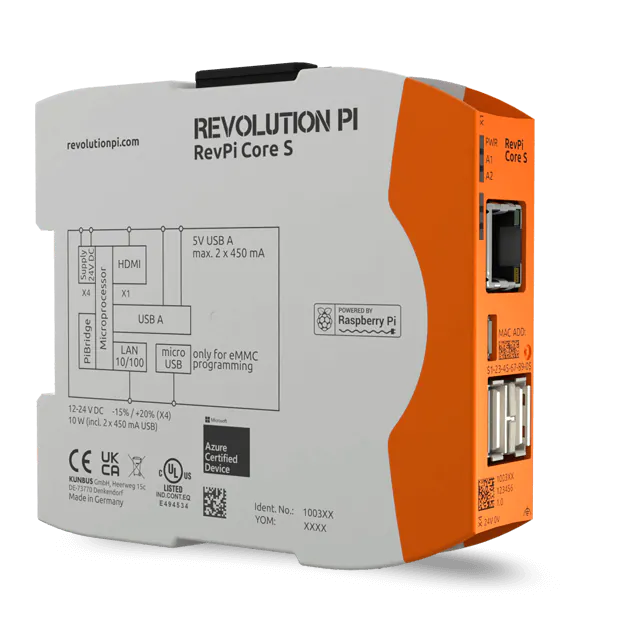
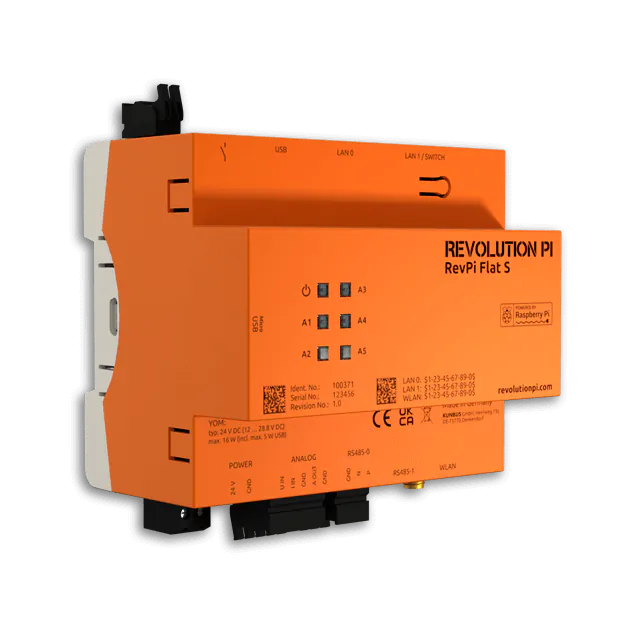
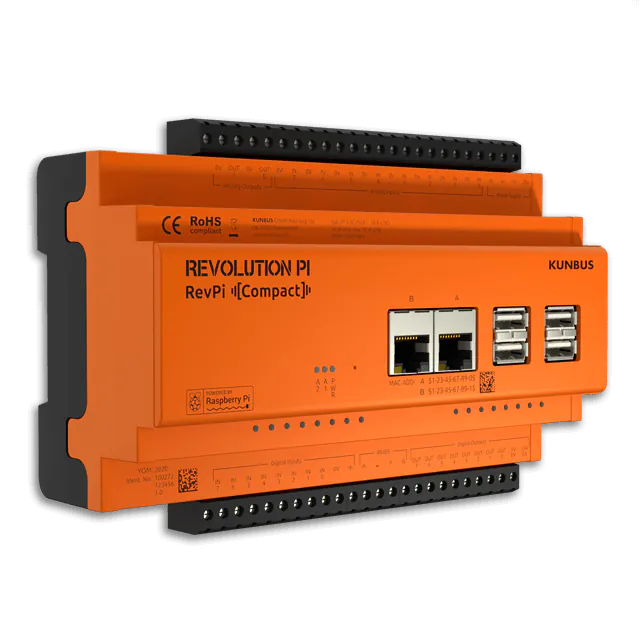
  • Click on the required RevPi base module.
  • Click on Add Device.

A project with a RevPi base module is created.

Adding RevPi Expansion Modules

RevPi expansion modules can be connected on the right or left side, depending on the RevPi base module.

  • In the project tree, right-click on the piBridgeLeft interface for the left-hand side or piBridgeRight for the right-hand side.
  • Click on Add Device.
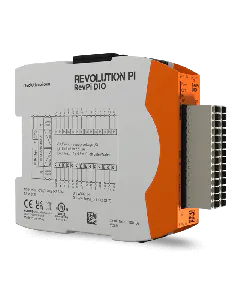
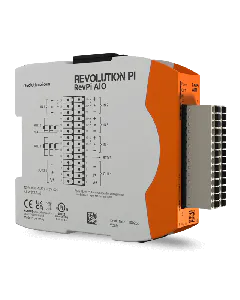
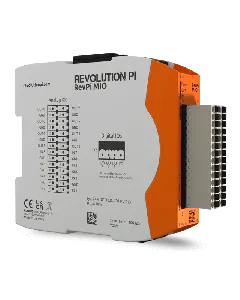
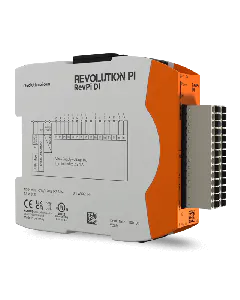
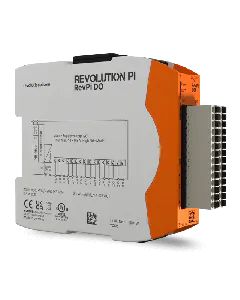
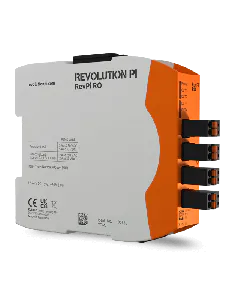
  • Click on the required RevPi expansion module to be connected to the piBridge interface.
  • Click on Add Device.

The RevPi expansion module is added to the project.

PiBridgeEnd is a virtual termination of the PiBridge indicating the end of expansion modules on either left or right side of the base module. At this place, a RevPi Gateway can be attached as further end device.

  • Right-click on PiBridgeEnd in the project tree.
  • Click on Plug Device.
  • Select the required RevPi Gateway.
  • Click on Plug Device.

The RevPi Gateway is added to the project.

Loading the CODESYS Project on the RevPi Device

  • Open the tab for the communication settings by double-clicking on the root device in the project tree.
  • Select Scan Network.
    You will now see the devices that are on your local network.
  • Select the required device.
  • Click on OK.
  • Click on the icon for Login in the menu bar in the main window.
  • Confirm the download with Yes.

When you load a CODESYS project onto the RevPi device for the first time, you must set up the user administration once.

  • Confirm the activation of the user management.
  • Enter your chosen login data (user name and password) in the Add Device User window.
  • Click on OK.
  • In the Device User Logon window, enter the configured login data.
  • Click on OK.
  • Wait until the download is finished.
  • Click on the icon for Start in the menu bar in the main window.

The application will now be executed and the online mode for debugging will be made available.

The example Blinking Light is supposed to make it easier for you to get started working with RevPi CODESYS.