About PiCtory

PiCtory is a browser-based application that allows you to communicate between your RevPi and connected devices using a configuration file. This configuration file is created by means of PiCtory.

You can use PiCtory on all standard web browsers (e.g. Internet Explorer, Mozilla, …). However, we recommend Chrome.

The main functions of a configuration file are:

  • Communicating type and position of the expansion modules to the base module
  • Communicating mutually the basic settings of your RevPi and connected devices
  • Using the configuration values of your RevPi in other applications

PiCtory User Interface

How to access the user interface on your RevPi, you will learn in the section “How to Create a Configuration File by using PiCtory“.

The user interface has different work areas. We explain here what you can do in each area.

Configuration Board

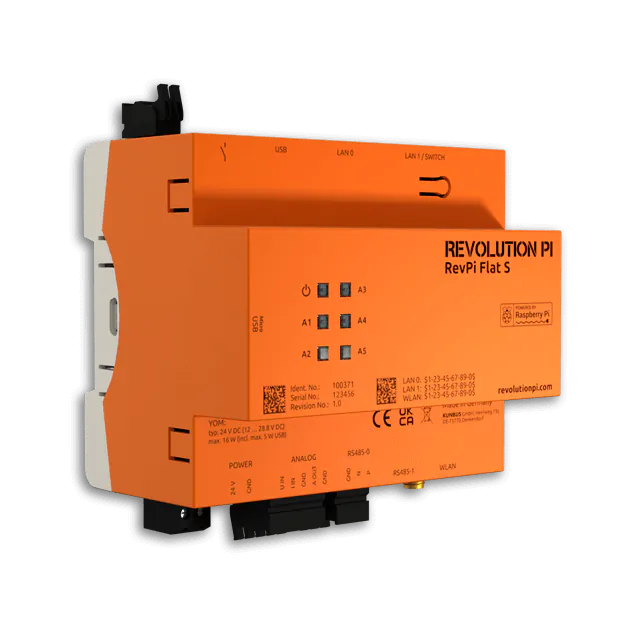
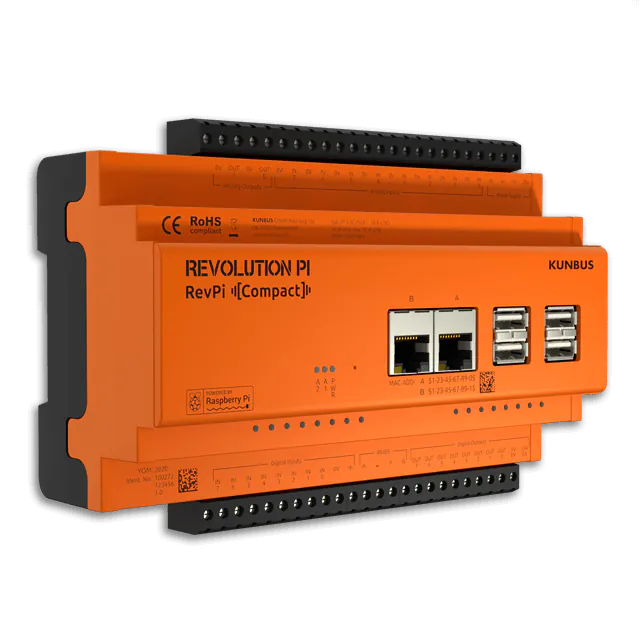
In the configuration board you can arrange devices as they are arranged physically, e.g. on the top-hat rail. PiCtory supports you to arrange the modules correctly by allowing only valid combinations.

You can configure all devices that you have activated here.

There are a few rules to follow when composing your devices:

  • A RevPi base module is the starting point for your project.
  • Gateways may only be included in the far right or far left of the project.
  • Additionally you can use virtual devices.

To set devices on this “virtual top-head rail”, insert the desired adapter from the device catalog (see below) into an empty slot in the configuration board using “drag and drop”. To create a new slot, right-click on the RevPi base module and select “Insert column (right/left)” from the context menu. An adapter here can be a hardware module that is connected to the RevPi device via the PiBridge, for example. However, it can also be a driver software for which memory space is provided in the process image.

Device Catalog

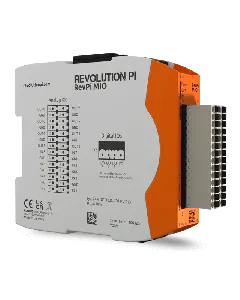
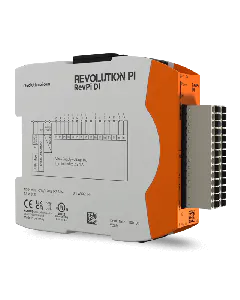
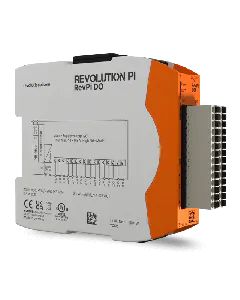
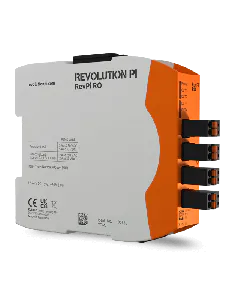
In the device catalog you can find all adapters from the RevPi product family. If you have to write your own drivers for a particular hardware, you can add them to the device catalog as adapters. You have to create a RAP file (RevPi Adapter Profile file) for this purpose.

Note: RevPi devices without PiBridge connector can only be combined with virtual adapters.

Device Data

In this area you can set the basic parameters for your adapters (e.g. device names).

Value Editor

In the value editor you can define the input and output ports you want to use. You can also assign names to the individual connections.

Organizing the Workplace

Depending on your space requirements, you can set the display of the adapters in the configuration area to two different sizes via “Display Size”.

You can completely hide and show the individual windows using the black button bars.

With the cursor over the frame of a window and the left mouse button pressed, you can vary the size of the window.