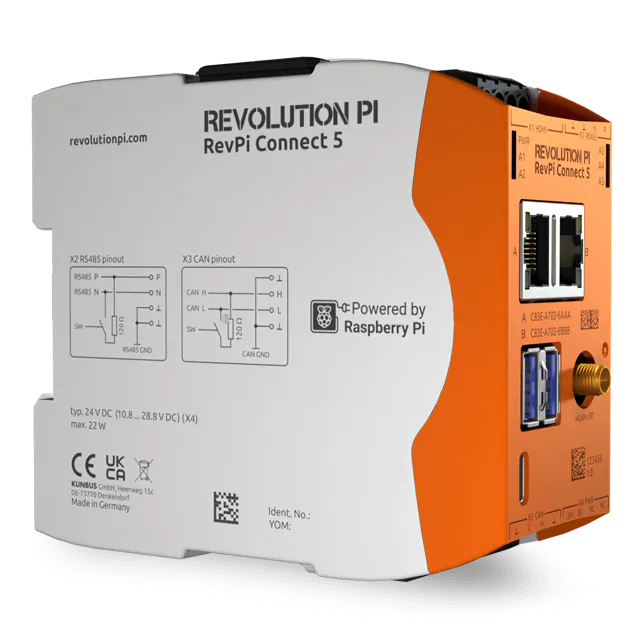
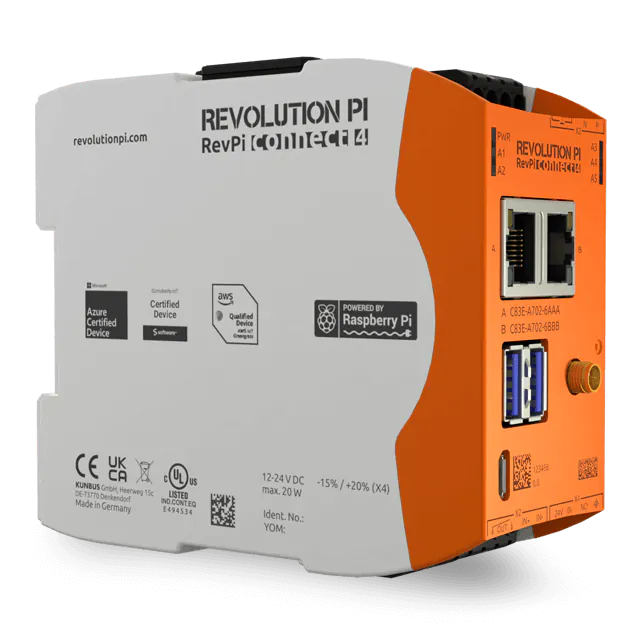
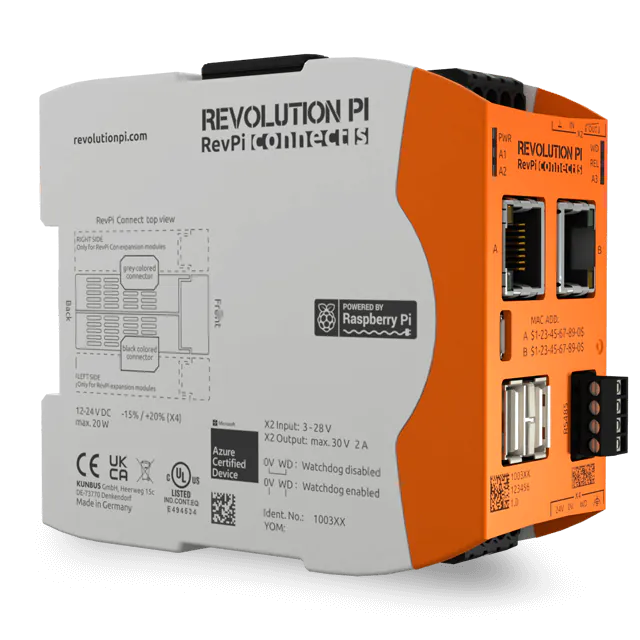
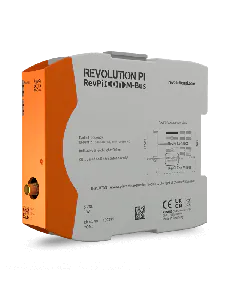
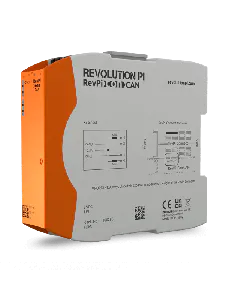
Quick Start RevPi Connect

A warm welcome to the RevPi community! As you are now here, you have obviously just received your RevPi Connect Module.

  • Let’s get started, tear open the box (if you have not done so already)!
  • 1 x RevPi Connect Modul
  • 1 x plug for the power supply
  • 2 x PiBridge/ConnectBridge covers to protect unused PiBridge/ConnectBridge connectors

Connecting

Here you will find out what PiBridge connectors are and which connections you have available on your RevPi Connect.

Install your module in this order:

  • Connect the devices that you need for your project (e.g. monitor, RevPi DIO…). Should you like to use your RevPi Connect without a separate monitor/keyboard, the instructions can be found here.
    • Mount your RevPi module if necessary on a DIN rail.
    • Connect up to the power supply. To do so you need a 24V mains adapter and suitable cable (size 0.35-2.5 mm²). Take care that your RevPi modules are correctly connected. Also connect the functional earth.
    NOTICE
    Do not switch on the power until all cables are correctly connected. The pin assignment can be found here.

    Great, your hardware has now been correctly installed. Now let’s activate everything.

    Software

    We and the community are constantly working on making our software even better, more comfortable and safer for you.
    Therefore, install all available updates before you start your project. This ensures that you are always up to date with the security-relevant features.

    Operating system

    When working with your RevPi Connect you use a Linux operating system. If you have not had much to do with Linux up until now, you can find a short introduction on the subject here.

    You can update your keyboard configuration by changing the configuration file. You can open this file by using “sudo raspi-config” command.

    Programs

    The following software is currently available for you to realize your project:
    • With Phyton you can write your own programmes.
    • With PiCtory you can create a configuration file for your RevPi modules.
    • With logiCAD3 you can create handlers.

    Should you have any problems, help can be found here. You can get in touch with our experts and other RevPi users in our Forum.