How to Run AWS Greengrass V2 on RevPi Devices

In this tutorial, you learn how to install and configure AWS IoT Greengrass V2 on your Revolution Pi.

Table of contents

Overview

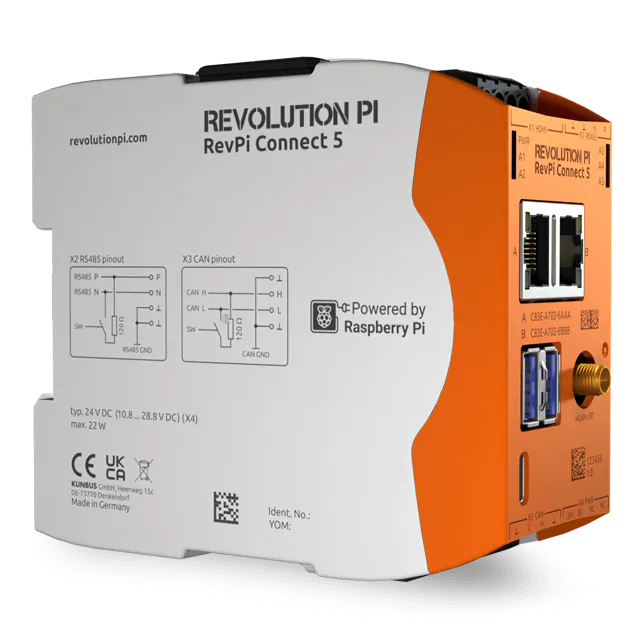
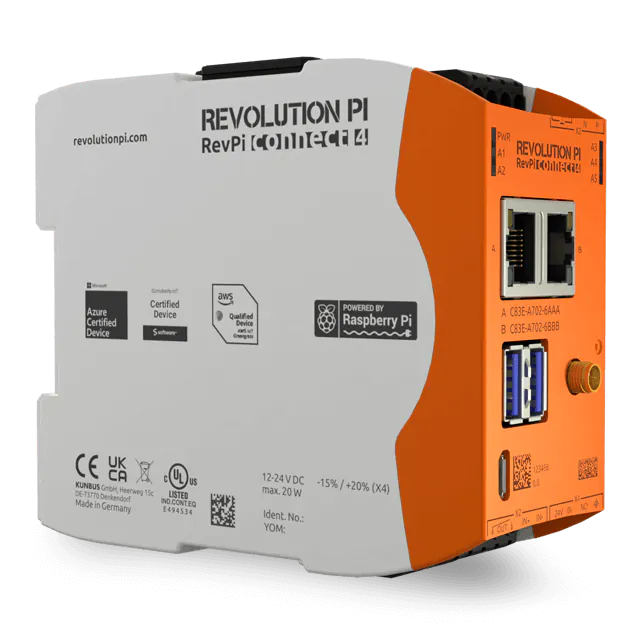
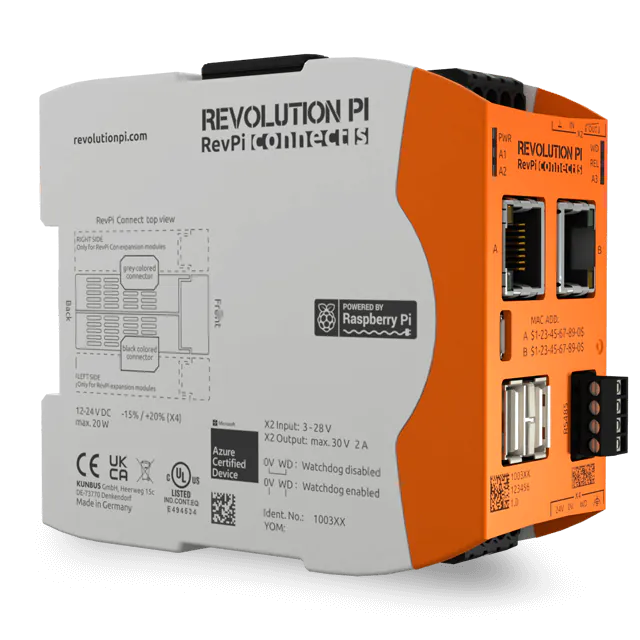
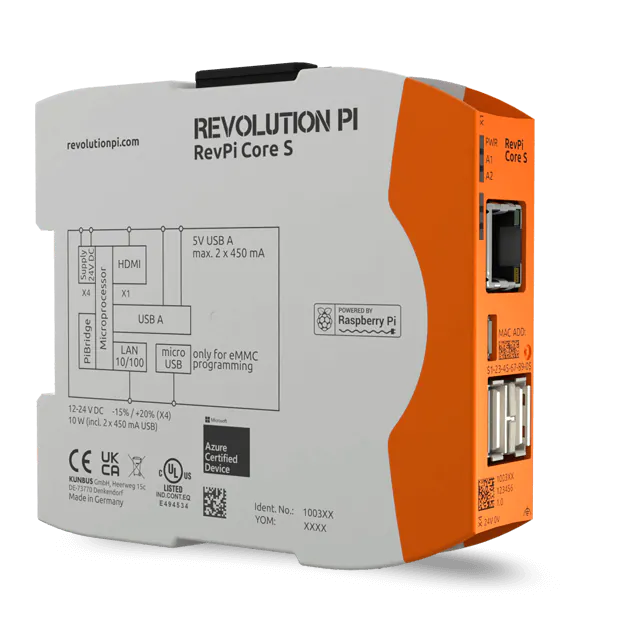
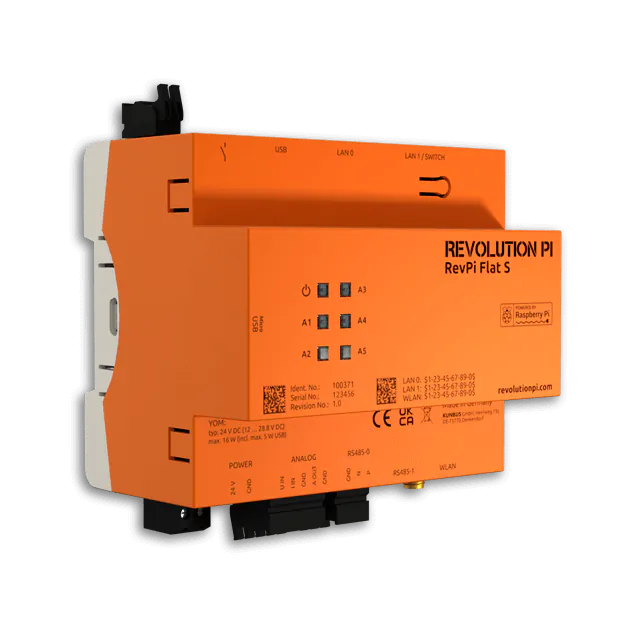
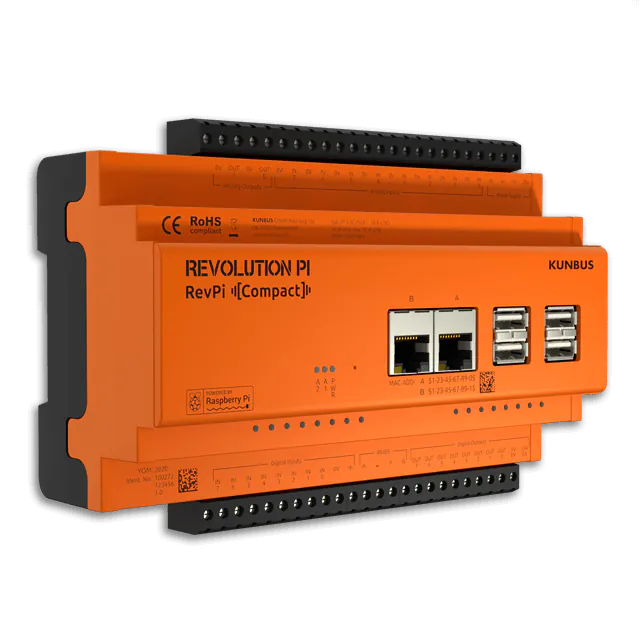
Revolution Pi Connect is an open, modular and inexpensive industrial PC / Soft PLC / IIoT Gateway based on the well-known Raspberry Pi. Housed in a slim DIN-rail housing, it can be seamlessly expanded by a variety of suitable I/O modules and fieldbus gateways. As it can be connected to all types of common industrial sensors and PLCs from all leading brands, Revolution Pi is the ideal choice when connecting the industrial shopfloor to AWS.

About AWS IoT Greengrass

To learn more about AWS IoT Greengrass, see how it works and what´s new.

Hardware Description

RevPi Connect+ or RevPi Connect S (8GB, 16GB, 32GB)
? Data Sheet RevPi Connect+
? Data Sheet RevPi Connect S

Getting started with your Revolution Pi

User Provided items

  • Your PC (Windows, Linux or Mac) incl. access to the Internet
  • 24 V power supply + cables (size 0.35-2.5 mm²)
    See RevPi Connect quick start for Details
  • Small slotted screwdriver (about 3mm)
  • Wire stripper

Additional Hardware References

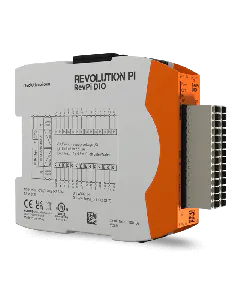
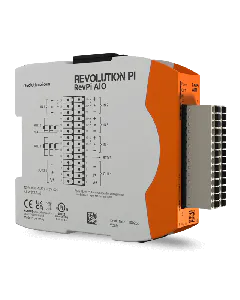
See the variety of IO and gateway modules available for your Revolution Pi Connect.

Revolution Pi Connect Expansion Modules

Prerequisites

To complete this getting started tutorial, you need the following:

  1. See the section Setting up an AWS Account.
  2. Select an AWS Region that supports AWS IoT Greengrass V2. In our case we used Europe (Frankfurt).
  3. Revolution Pi device (Core, Connect) 8GB, 16GB or 32GB with internet connection
  4. Python 3.5 or later installed for all users on the device and added to the PATH environment variable.
  5. AWS Command Line Interface (AWS CLI) installed and configured with credentials on your development computer and on your RevPi. Make sure you use the same AWS Region to configure the AWS CLI on your development computer and on your RevPi. To use AWS IoT Greengrass V2 with the AWS CLI, you must have one of the following versions or later:
    Minimum AWS CLI V1 version: v1.18.197
    Minimum AWS CLI V2 version: v2.1.11
    You can run the following command to check the version of the AWS CLI that you have.

    aws --version

Setting up an AWS account and Permissions

If you do not already have an AWS account and an administrative user, please follow the instructions in Step 1: Setting up an AWS Account from the Greengrass getting started documentation.

Setting up RevPi

  1. Flash the Operating System on your RevPi.
  2. Follow these steps to set up a Linux or Windows device to use as your AWS IoT Greengrass core device.
  3. Connect to your RevPi with SSH (e.g. Putty) with your RevPi credentials from the sticker on the device.
  4. Install the Java runtime, which AWS IoT Greengrass Core software requires to run. On your RevPi, use the following commands to install Java 11.
sudo apt install default-jdk

When the installation completes, run the following command to verify that Java runs on your RevPi. At the time this tutorial was made, Greengrass requires Java Runtime Environment (JRE) version 8 or higher.

java -version

Install the AWS IoT Greengrass Core software

  1. Create IAM user to provision device
  2. Sign in to the AWS Management Console.
  3. Go to Access Management and choose Users
  4. Click “Add User” and choose your user name.
  5. On Select AWS Credential Type, choose Access Key – Programmatic Access and next.
  6. On Attach existing policies directly (details on provisioning policies), search for:
    – IAMFullAccess
    – AmazonS3FullAccess
    – AWSIoTFullAccess
    – AWSGreengrassFullAccess
  7. Click on create user.
  8. Download the .csv.
  9. Copy the Access Key ID and the Secret Access Key
  10. Paste the Access Key ID and the Secret Access Key on your RevPi SSH console using the follwing command lines:
    export AWS_ACCESS_KEY_ID=paste_here_your_access_key_id
    
    export AWS_SECRET_ACCESS_KEY=paste_here_your_secret_access_key

Create Resources in AWS IoT

Refer to the online AWS documentation at Create AWS IoT Resources.  Follow the steps outlined in these sections to provision resources for your device:

Create an AWS IoT Policy

Create a thing object

Pay special attention to the Notes.

Download and Install the AWS IoT Greengrass Core software

In the AWS IoT Greengrass console chose the button “Set up one Greengrass core device“ and follow the instructions. If you are asked to copy commands, copy them to your Revolution PI ssh console. In step 3.3 of the “Set up greengrass core device wizard“ you find the link to the AWS IoT Greengrass Core software. Type the following command to download the software:

curl -s https://d2s8p88vqu9w66.cloudfront.net/releases/greengrass-nucleus-latest.zip > greengrass-nucleus-latest.zip

Under Run the installer, you will find a command line similar to this one in which there is all your device credentials.

sudo -E java -Droot="/greengrass/v2" -Dlog.store=FILE \ -jar ./GreengrassInstaller/lib/Greengrass.jar \ --aws-region region \ --thing-name MyGreengrassCore \ --thing-group-name MyGreengrassCoreGroup \ --thing-policy-name GreengrassV2IoTThingPolicy \ --tes-role-name GreengrassV2TokenExchangeRole \ --tes-role-alias-name GreengrassCoreTokenExchangeRoleAlias \ --component-default-user ggc_user:ggc_group \ --provision true \ --setup-system-service true

The local development tools (specified by the –deploy-dev-tools option) take some time to deploy. The following command can be used to check the status of this deployment:

aws greengrassv2 list-effective-deployments --core-device-thing-name thing-name

When the status is SUCCEEDED, run the following command to verify that the Greengrass CLI is installed and runs on your device. Replace /greengrass/v2 with the path to the base folder on your device as needed.

/greengrass/v2/bin/greengrass-cli help

Done

Under AWS IoT Greengrass console, choose Core Devices. Check if the status of your RevPi is Healthy.
Now your device is ready to go. Enjoy using AWS Greengrass.

Create a Hello World component

In Greengrass v2, components can be created on the edge device and uploaded to the cloud, or vice versa.

Create the component on your edge device
Follow the instructions online under the section To create a Hello World component to create, deploy, test, update and manage a simple component on your device.

Upload the Hello World component
Follow the instructions online at Upload your component to upload your component to the cloud, where it can be deployed to other devices as needed

Troubleshooting

If you encounter problems, you can find help here. You can get in touch with our experts and other RevPi users in our forum.